 Loading Please Wait...
Loading Please Wait...
Loading Please Wait...
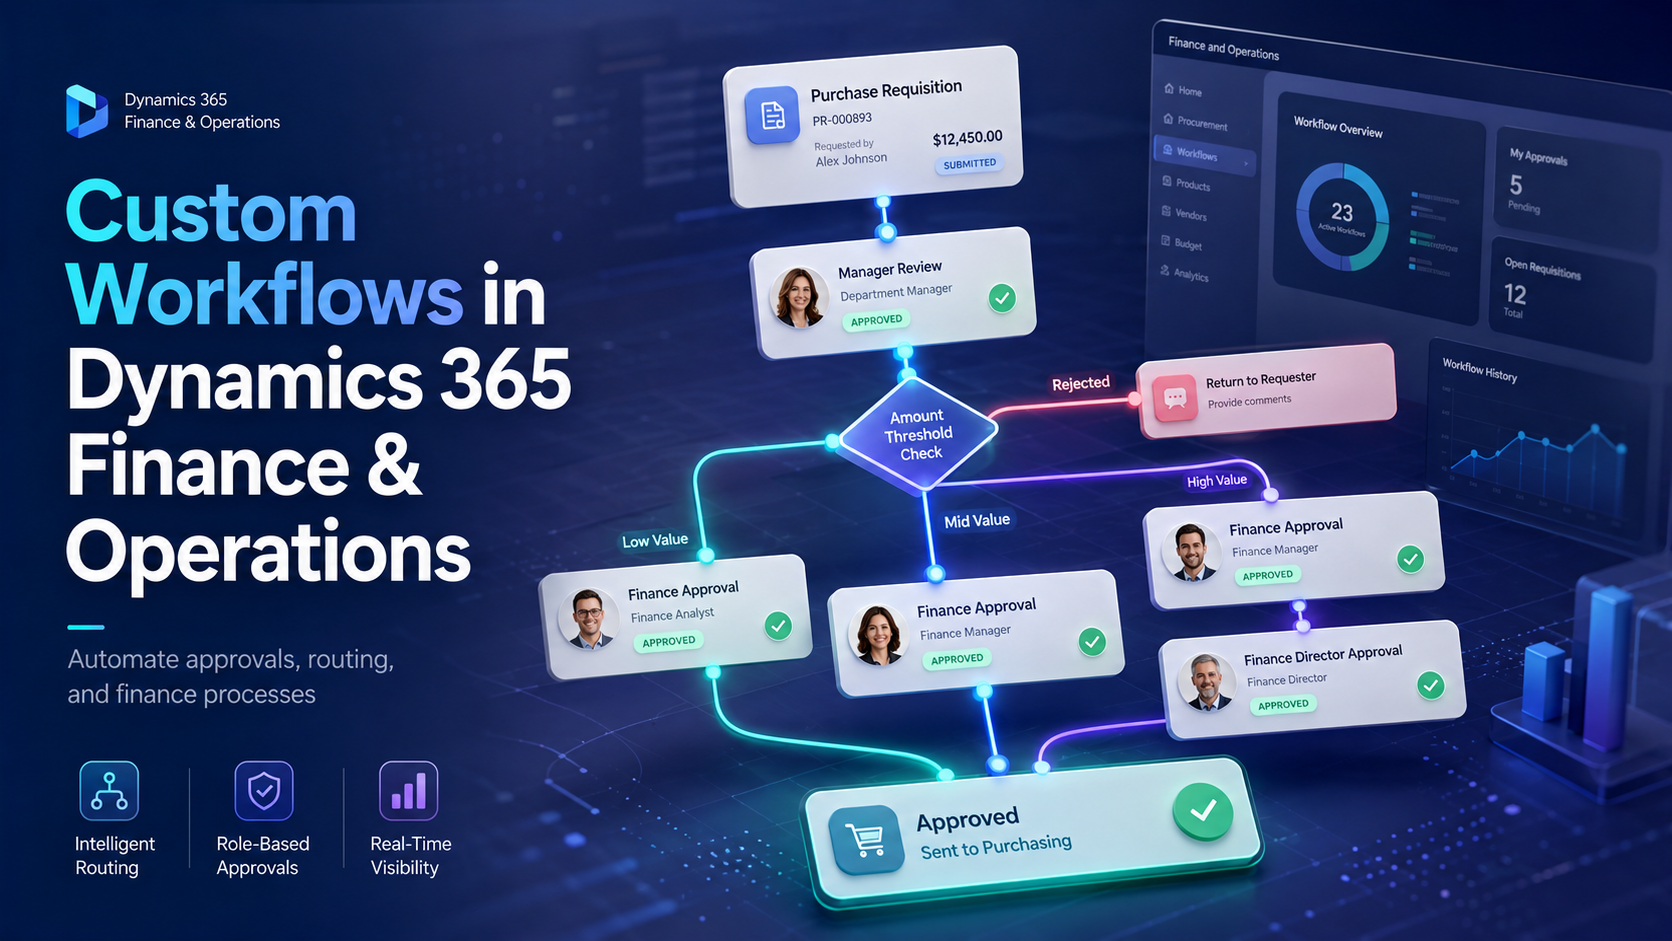
Manual approvals can quickly become difficult to manage. Purchase requests may remain unnoticed in email inboxes, invoices may be sent to the wrong person, and employees may not know who is responsible for the next step.
Custom workflows in Dynamics 365 Finance & Operations help businesses replace these inconsistent processes with structured approval paths. A workflow can automatically route a document to the right user, apply approval limits, send notifications, escalate overdue tasks, and maintain a clear record of every decision.
This guide explains how to create and configure a workflow in Dynamics 365 F&O, when development may be required, and how to test the workflow before using it in a production environment.
A workflow is a structured sequence of tasks, decisions, and approvals that controls how a business document moves through an organization.
For example, when an employee submits a purchase requisition, a workflow can:
Dynamics 365 F&O workflows can include several types of elements:
These elements allow organizations to create approval processes that reflect their internal policies.
Before creating a workflow, it is important to understand what “custom workflow” means in Dynamics 365 F&O.
In many cases, a supported workflow type is already available in the relevant Dynamics 365 module.
Administrators and functional consultants can configure these workflows without writing code. They can define:
Examples include purchase requisition, vendor invoice, expense report, and general journal workflows.
Development is required when an existing workflow type does not support the document or business process.
Creating a new workflow type may involve:
This work is normally completed by a Dynamics 365 F&O developer using Visual Studio and Application Explorer.
Before choosing custom development, confirm whether the requirement can be addressed through standard workflow configuration. Standard functionality is generally easier to maintain during future system updates.
A successful workflow begins with a clearly defined business process.
Before opening the workflow editor, document the following information:
It is useful to draw the approval process as a simple flowchart before configuring it in Dynamics 365. This helps identify missing approval paths, unnecessary steps, and possible exceptions.
You should also create and test the workflow in a sandbox or test environment before moving it into production.
The exact navigation path depends on the module and workflow type. However, the overall configuration process remains similar.
Open the module that manages the relevant business process.
For a purchase requisition workflow, for example, navigate to:
Procurement and sourcing > Setup > Procurement and sourcing workflows
Select New, choose the required workflow type, and select Create workflow.
The workflow editor will open and display the elements available for that particular workflow type.
Choose the workflow type carefully. The selected type determines which documents, fields, conditions, tasks, and approval elements are available.
Open the workflow properties and provide a clear name and description.
A useful workflow name might be:
Purchase Requisition Approval – Australia Operations
Avoid generic names such as “Workflow 1” or “New Approval,” especially when multiple workflow versions or legal entities are involved.
Depending on the workflow type, the properties may include:
Activation conditions determine when the workflow should be used. They are particularly important when multiple workflows exist for the same document type.
For example, one purchase requisition workflow may apply to Australian operations, while another applies to Indian operations.
Drag the required workflow elements onto the workflow editor canvas.
A basic approval workflow may contain:
Connect every element in the correct order. Dynamics 365 will normally prevent activation when required elements are disconnected or incorrectly configured.
Keep the process as simple as possible. Adding unnecessary approvals can create delays without improving financial control.
Open each approval step and define its purpose.
Use a meaningful name such as:
Department Manager Approval
You can also enter a work-item subject and instructions that tell the approver what to review.
For example:
Review the purchase purpose, requested amount, budget availability, and selected vendor before approving the requisition.
Approvers may be assigned using:
Hierarchy-based assignments are useful when the approver should be determined automatically from the employee or organizational structure.
You can also configure deadlines and escalation rules. For example, if the manager does not respond within two business days, the request can be escalated to another authorized user.
Conditional decisions allow a workflow to follow different paths based on document data.
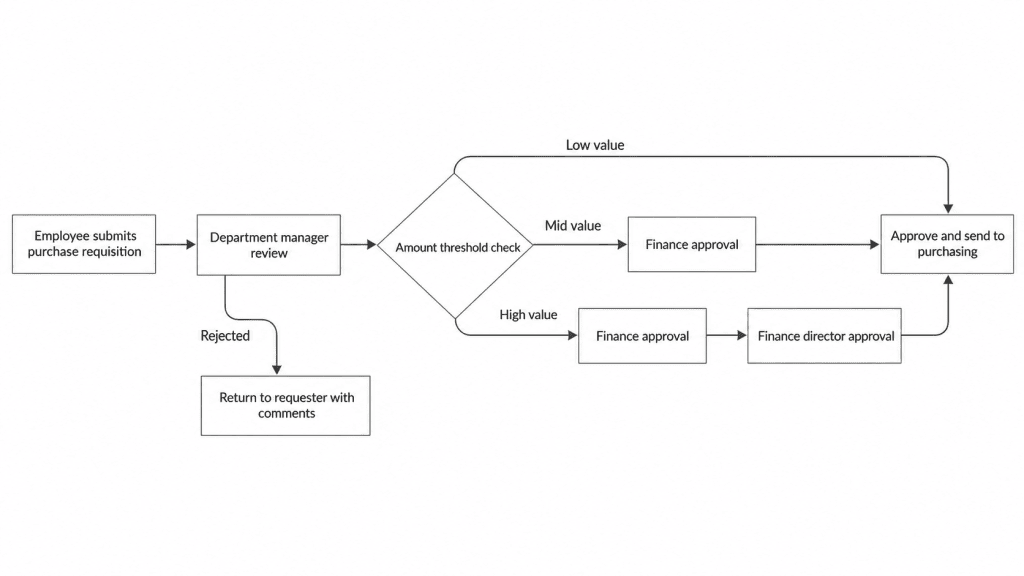
Suppose a company uses the following purchase approval policy:
A conditional decision can check the requisition amount and send the document to the correct approval path.
Conditions may also be based on:
Review the condition carefully to ensure that it does not overlap with another condition or leave some documents without a valid route.
Notifications help users understand when action is required.
Depending on the workflow, notifications may be sent when:
Use clear notification messages that explain the required action. Avoid messages that only say “Workflow item assigned” without identifying the document or next step.
Some workflows also support automatic actions. For example, a low-value request may be approved automatically when specific conditions are satisfied.
Automatic approval should only be used when it complies with the organization’s internal controls.
After configuring the workflow, use the editor’s validation features to identify errors and warnings.
Common validation issues include:
Resolve all important issues, save the workflow, and close the editor.
Enter a clear version comment describing the change, such as:
Added finance approval for purchase requisitions above $5,000.
Activate the new workflow version only after the configuration has been reviewed and tested.
Consider a company that wants stronger control over purchasing.
Its workflow could operate as follows:
This workflow helps the company apply the same approval policy to every request. It also provides visibility into who submitted, reviewed, approved, rejected, or delayed the requisition.
Do not test only one successful transaction. Test every important path and exception.
Your test scenarios should include:
Common workflow problems include:
The selected hierarchy, participant, role, or user group may not return an active user. Review the assignment rule and organizational structure.
Check the order and logic of the conditions. Overlapping conditions may route a document incorrectly.
Confirm that an active workflow version exists and that the document satisfies its activation conditions.
Saving a version does not necessarily activate it. Confirm that the correct version is active.
Review the email template, batch processing, user email addresses, and environment email configuration.
Testing with realistic data is essential because a workflow that works with one sample document may fail when different departments, amounts, currencies, or organizational hierarchies are involved.
Follow these practices to create maintainable workflows:
Yes. When a suitable workflow type already exists, administrators or functional consultants can configure the approval process through the workflow editor without custom development.
A new workflow type may be required when an existing workflow does not support the relevant document or process. This normally requires development in Visual Studio.
Yes. Workflows can contain sequential approvals, multiple approval steps, parallel branches, participant assignments, and hierarchy-based routing.
Yes. Conditions can route documents differently based on amounts and other available document fields.
Conditions should be tested with relevant records before the workflow is released. Testing helps confirm that each document follows the expected approval route.
Custom workflows in Dynamics 365 Finance & Operations can reduce manual follow-ups, strengthen financial controls, and create greater accountability across business processes.
The key is to design the process before configuring the system. Clearly identify the document, approval rules, responsible users, exceptions, escalation requirements, and testing scenarios. When standard workflow functionality cannot support the requirement, a fully custom workflow type may be considered.
AllUpNext helps businesses design, configure, customize, and support Dynamics 365 F&O workflows based on their operational and approval requirements.